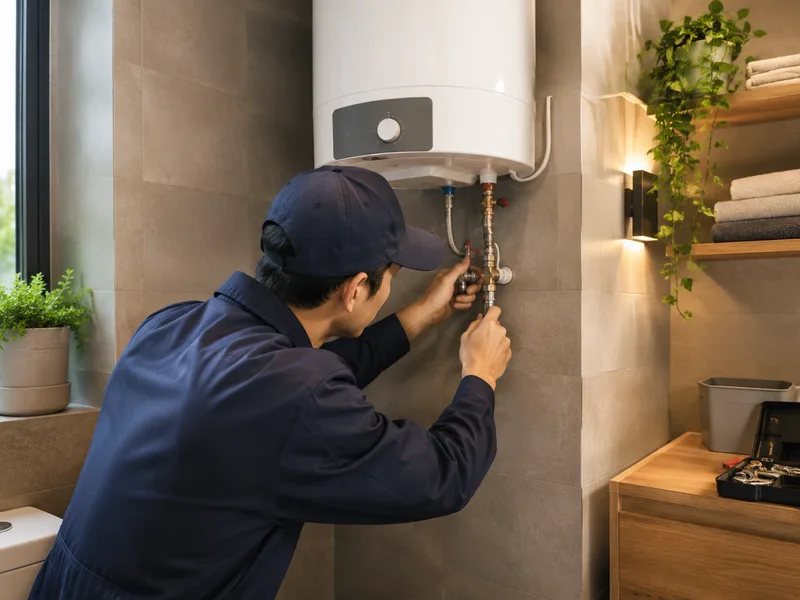
Professional Service
Draining your water heater — usually called flushing — is the single most valuable maintenance task you can perform on it. It removes the sediment that causes popping noises, wasted energy, and premature tank failure. Yet most homeowners never do it, partly because it sounds intimidating. It is not. With a garden hose, a bucket, and about an hour, you can flush your own heater safely. This guide walks through the full procedure, the mistakes to avoid, and when to call a professional instead.
Why Draining Matters
Every gallon of water entering your heater carries dissolved minerals — mostly calcium and magnesium. Heat accelerates their precipitation, and the resulting sediment sinks to the bottom of the tank where it accumulates year after year. In Diamond Bar's moderately hard water, a never-flushed tank can accumulate inches of sediment within five years. That layer insulates the water from the burner or element, forcing longer heating cycles, higher energy bills, and overheating of the tank bottom. Overheated steel weakens and corrodes faster. Regular flushing — annually is the standard recommendation — keeps the tank bottom clean, the heater efficient, and the steel healthy. It is the cheapest life-extension your water heater can get.
What You Will Need
- A garden hose long enough to reach from the heater's drain valve to a safe drainage spot — a floor drain, driveway, or yard area that can handle hot, possibly dirty water.
- Work gloves — the drain valve and the first blast of water will be hot.
- A bucket for checking water clarity during the flush.
- A screwdriver or pliers if your drain valve needs help opening.
- About an hour of unhurried time. Rushing this job causes the mistakes.
Step-by-Step Draining Procedure
Step 1: Turn off the energy. For electric heaters, switch off the breaker — this is critical, because an electric element exposed to air burns out in seconds. For gas heaters, turn the gas control knob to pilot or off. Step 2: Shut off the cold water supply using the inlet valve on top of the heater. Step 3: Let the water cool. Ideally, wait several hours or do this first thing in the morning before anyone uses hot water. Draining a full tank of 140°F water is a scalding hazard. Step 4: Attach the garden hose to the drain valve at the base of the tank, and run the other end to your drainage spot. Make sure the hose end is secured — a whipping hose spraying hot water is no joke. Step 5: Open a hot water faucet somewhere in the house. This lets air into the system so the tank can drain; without it, a vacuum holds the water in. Step 6: Open the drain valve slowly. Let the tank empty completely, watching the water. The first gallons are often discolored and gritty — that is the sediment leaving. Step 7: Flush with the valve open. Once empty, briefly turn the cold supply back on with the drain still open to stir up and blast out remaining sediment. Repeat until the water runs clear into your bucket. Step 8: Close the drain valve, remove the hose, close the open faucet, and refill the tank completely. Step 9: Restore energy only after the tank is full — run a hot tap until water flows steadily with no sputtering, confirming the tank is full and air is purged. Then turn the breaker back on or relight to your normal setting.
Common Mistakes to Avoid
The number-one mistake is restoring electric power before the tank is completely full — dry-fired elements die instantly, turning a free maintenance task into a repair bill. The second is skipping the cool-down and draining scalding water across a garage floor or yard. The third is forcing a stuck drain valve: cheap plastic drain valves get brittle with age and snap off, and then you have an open hole in a full tank. If the valve will not open with moderate pressure, stop — a pro can replace the valve or work around it. The fourth is draining without opening a hot faucet, then wondering why nothing comes out. And the fifth is neglecting the pressure relief valve test while you are at it — lift the lever briefly to confirm it flows and reseats.
When Not to DIY the Drain
There are situations where draining your own heater is unwise. If the heater is more than ten years old and has never been flushed, the drain valve may be cemented shut with sediment, and disturbing decades of buildup can open leaks that the sediment was effectively plugging. If the drain valve is plastic, brittle, or already dripping, let a professional handle it — they carry replacement brass valves and the tools to swap one on a live tank if needed. If the heater shows any sign of tank corrosion — rusty water, exterior rust streaks — draining can accelerate a failure that is already underway. In those cases, have the unit assessed first.
Do not want to wrestle with hoses and valves yourself? Water Heater Leak Repair Masters performs professional flushes throughout Diamond Bar, CA — including stubborn valves, heavy sediment, and a full condition check while we are there. Call (833) 713-2101 to schedule.